
Why Solar Pathway Lights Stop Working and How to Diagnose Them
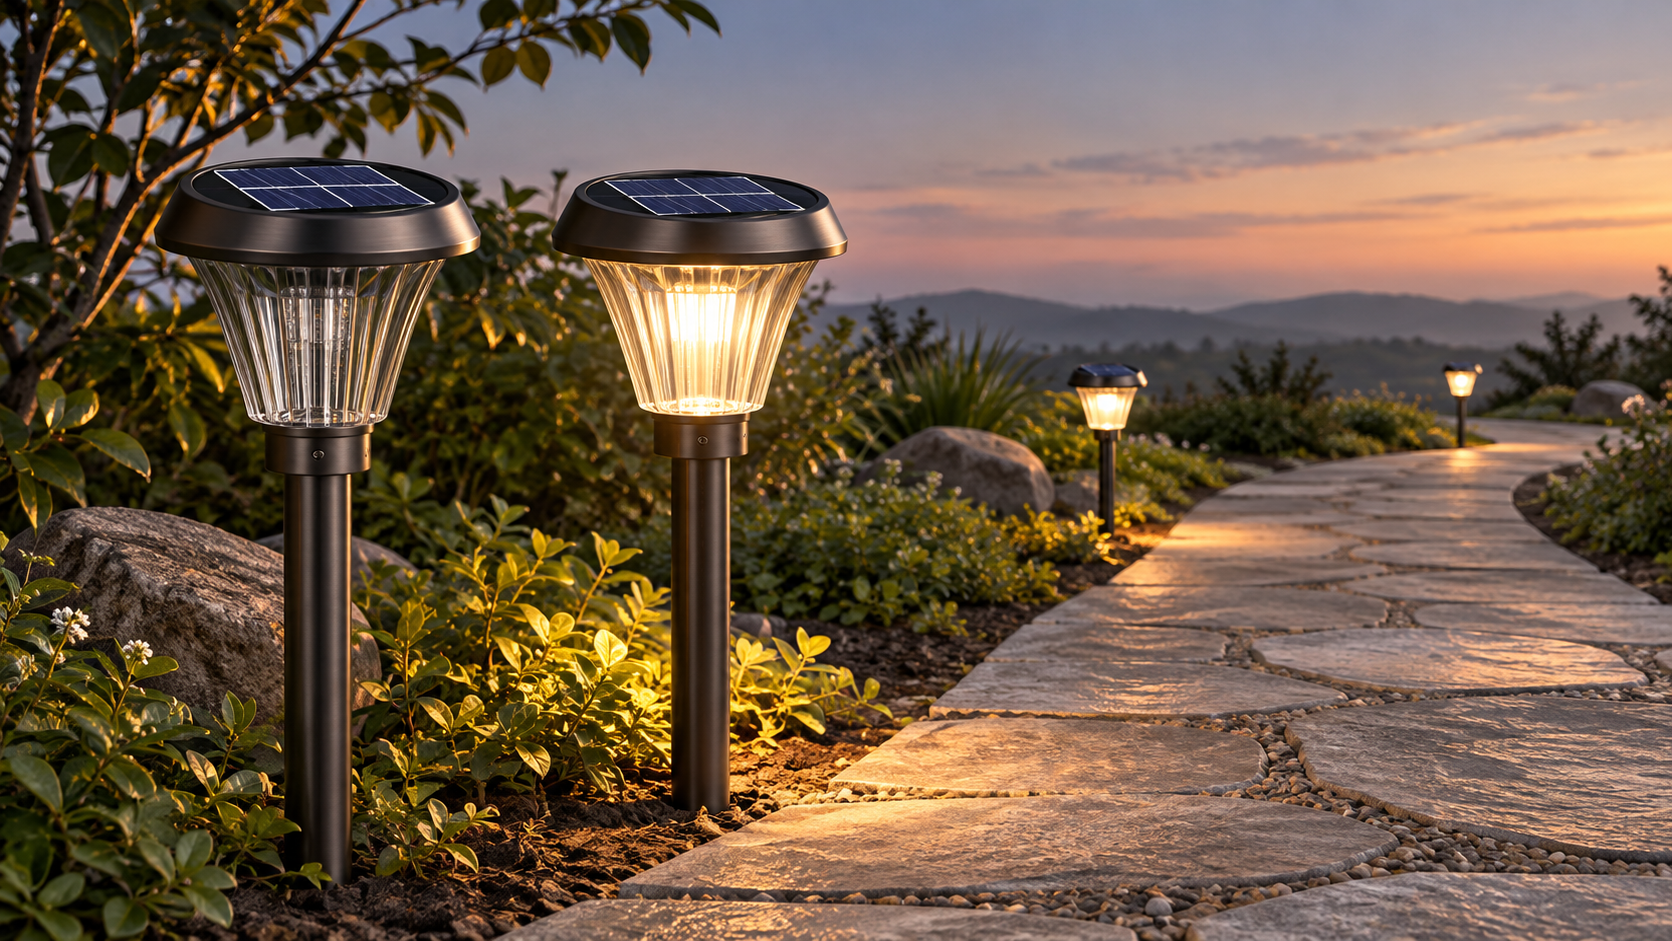
When a solar pathway light stops working, the cause is not always a failed lamp. Insufficient sunlight, a depleted battery, a dirty solar panel, faulty wiring, or a malfunctioning sensor can all affect performance. For maintenance teams responsible for multiple fixtures, a systematic diagnosis helps reduce repeat visits and unnecessary replacements. This guide explains the most common causes of failure and the practical checks needed to identify them, helping you restore reliable pathway lighting efficiently.
Start with the failure pattern
Before opening a fixture, establish what “not working” means. A light that never turns on points toward a different fault from one that operates at dusk but goes dark well before morning. Note the weather, recent landscape changes, the time the light fails and whether nearby units show the same behavior.
A single failed unit surrounded by working fixtures suggests a local problem, such as a damaged connector or battery. Several lights failing together may indicate a shared condition: prolonged poor weather, new shading, an incorrect schedule or, where equipment is networked, a control issue. Do not assume that a group failure means every battery needs replacing.
Check the fixture’s operating mode as well. Some pathway lights dim during part of the night or brighten only when motion is detected. Compare the observed behavior with the project’s approved settings before treating it as a defect.
Check whether the panel can actually charge
A solar panel may look unobstructed at noon but spend much of the day in the shadow of a tree, building or sign. Inspect the site across the expected charging period where practical, and compare it with a nearby fixture that performs normally. Seasonal sun angles and tree growth can turn an acceptable installation into a poorly charged one.
Remove dust, bird droppings and other deposits using the manufacturer’s recommended cleaning method. Inspect the panel surface for cracks, damaged seals or discoloration. A clean panel is not necessarily a healthy panel, and a panel receiving direct light is not necessarily delivering usable charging current.
If the design permits electrical testing, use a multimeter and the manufacturer’s procedure to check panel output in suitable daylight. Compare readings with the specified test conditions and a known-good unit of the same model; sunlight and temperature affect measurements. Open-circuit voltage alone does not prove that a panel can deliver adequate current under load.
Where shading is permanent, replacing the panel with an identical part may not solve the problem. The practical remedy could be vegetation management, repositioning an adjustable panel or reviewing the fixture’s energy design. Any relocation should preserve the intended pathway coverage and comply with the project’s installation requirements.
Separate battery problems from charging problems
A fixture that turns on normally but loses brightness early may have a battery that no longer stores enough usable energy. It may also have received too little charge that day. Check the charging environment before condemning the battery, and compare runtime after an appropriate charging period under the manufacturer’s instructions.
Measure battery voltage only at the approved test points and interpret the result against the specifications for that battery and controller. A voltage reading by itself is not a reliable capacity test: a weakened battery can show a plausible voltage without sustaining the lighting load. Where supported, a controlled load or capacity test provides stronger evidence.
Use only an approved replacement with the correct chemistry, voltage, capacity, connector and protection arrangement. A battery that physically fits is not necessarily compatible with the charging circuit. Isolate power as instructed, avoid short circuits and follow site procedures for handling and disposing of used batteries. Do not open, charge or reuse a swollen, leaking or visibly damaged pack; isolate it and follow the site’s hazardous-battery procedure.
Inspect connections, seals and the controller
Outdoor fixtures are exposed to vibration, moisture and repeated temperature changes. With the unit safely isolated, look for loose plugs, pinched cables, damaged insulation and corrosion at accessible connections. Pay particular attention to cable entries and joints where water can collect. A green or white deposit on a terminal is a useful warning, but the source of moisture also needs to be found.
If water is present inside the housing, check the gasket, cable gland and enclosure for damage before resealing. Drying the unit without correcting the entry point often leads to another failure. Replace compromised seals or connectors with approved parts, and confirm that the housing is reassembled as specified. Escalate extensive corrosion or damage affecting sealed electronics rather than improvising a repair.
The controller sits between several possible symptoms: it manages charging and, depending on the design, may also determine when the LED operates. Check any available fault indicators and recorded settings against the manufacturer’s documentation. If a known-good compatible component can be substituted safely under the approved procedure, change one component at a time and record the result. That is more useful than replacing the panel, battery and controller together and never learning which part failed.
Test the light sensor and operating settings
A solar pathway light that charges but does not illuminate at night may be receiving a false daylight signal. Some fixtures use the solar panel to detect ambient light; others use a separate photocell. Nearby streetlights, illuminated signs or reflected light can interfere with the transition to night mode.
For a basic functional check, cover the panel or photocell as directed by the manufacturer and allow for any programmed delay. If the light responds, investigate stray light and settings before replacing the sensor. If it does not, the test does not automatically prove the sensor is defective: battery state, wiring, controller and LED output still need to be checked.
For motion-controlled units, verify detection range and direction at the installed height, then check whether vegetation, dirt or physical damage is obstructing the sensor. For connected fixtures, confirm the configured schedule and communication status without assuming that a network fault explains every unlit unit.
Close the job with a nighttime verification
A successful daytime bench check is not the same as a successful repair. Confirm that the fixture transitions into its intended night mode and, when runtime is the complaint, observe it long enough to establish whether the problem has returned. Record the fixture location, observed symptom, measurements, parts replaced and final settings. Those records help distinguish isolated failures from a developing issue with a model, batch or site condition.
On larger public-space projects, maintenance records should also distinguish functional pathway lighting from other visual equipment. For example, the Laser Engineering Projector is intended for large-scale visuals on buildings, landscapes and stages; it is not a substitute for pathway illumination. Keeping its controls and maintenance responsibilities separate from those of solar fixtures helps avoid confusion during fault reporting.
Lishida Smart Lighting supports contractors and project owners with outdoor lighting products, smart controls and project-based solutions, drawing on experience with large-scale projects in China. For a recurring failure, the useful next step is to review the fixture specifications, control settings, exposure conditions and replacement-part compatibility together—not simply order more lamps.
◉ MESSAGE

Blog
- Urban Lighting Solutions: Comparing Grid and Solar-Powered Systems
- Lawn Streetlight EPC Contractors: Assessing Installation Capability
- Dusk-to-Dawn Urban LED Lighting: Photocells vs Astronomical Timers
- Waterfront Pedestrian LED Lighting: Addressing Glare and Salt Air
- LED Street Light Manufacturers: Evaluating Warranty and Support
- Connected Smart Poles: How Connectivity Enables Remote Monitoring
- Solar Highway Lighting: Managing Battery Failures on Remote Roads
Message