
Weatherproof Solar Bollard Lights: Checks for Rain and Corrosion
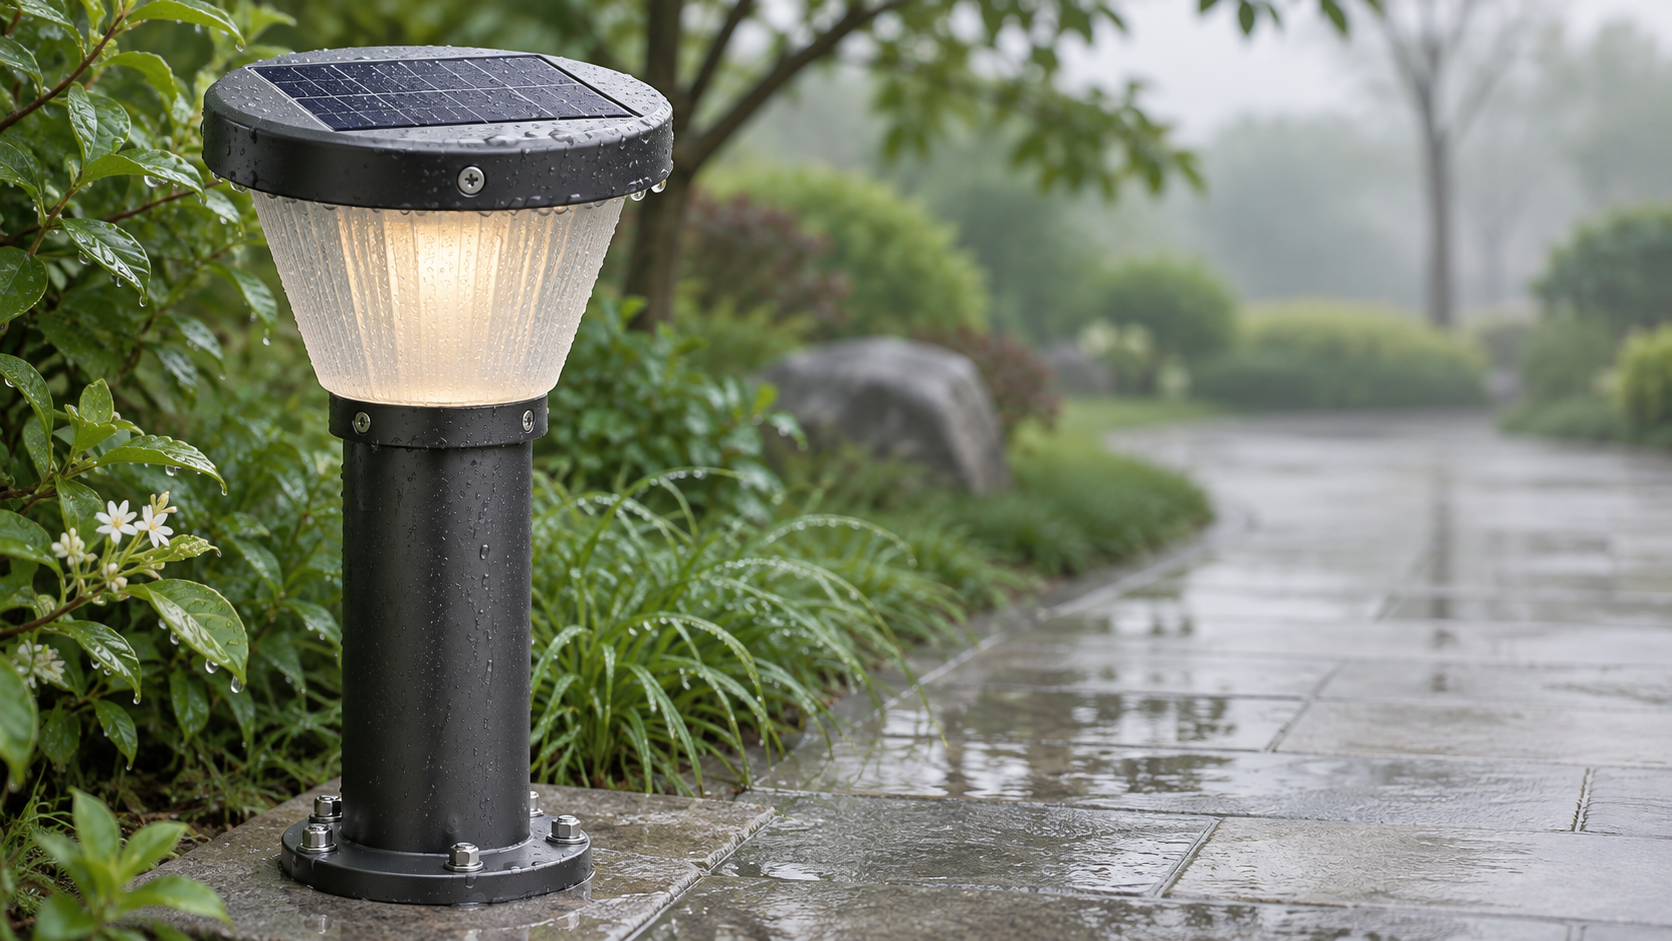
After heavy rain, condensation behind a bollard lens, water around a cable entry, or rust at the base can signal a safety problem before the light fails. The most reliable assessment is not a “weatherproof” label alone: check the declared ingress protection rating and supporting test evidence, then inspect seals, drainage, exposed materials, and the installed base.
A solar powered bollard light with weatherproof design must also remain serviceable after exposure to sunlight, temperature changes, and maintenance. Rain protection and corrosion resistance are separate questions, so each needs its own acceptance criteria.
Start with the rating and its evidence
Ingress protection ratings under IEC 60529 describe protection against access to hazardous parts, dust, and water. The second digit is the water-protection classification: for example, IPX4 concerns splashing, while IPX5 and IPX6 concern water jets under specified test conditions. An IP66 designation combines dust-tight protection with protection against powerful water jets; it does not establish resistance to immersion, corrosion, or every possible installation condition.
Ask the supplier for a test report or other suitable evidence covering the exact model and relevant configuration. Check whether the rating applies to the complete assembled luminaire, including the solar panel enclosure, battery compartment, cable entries, and any replaceable connectors. A rating for an individual component should not be treated as proof for the assembled bollard.
Confirm the mounting orientation and accessories used during testing. A unit tested with sealed cable glands may not retain the same protection if open knockouts, different glands, or unapproved cable sizes are used on site. For locations exposed to flooding or standing water, determine whether an appropriate immersion rating and test conditions are needed; a jet rating alone does not establish that protection.
Trace the routes water can take
Inspect the top of the bollard first, where rain can collect around the solar module frame, lens, and fasteners. Follow every joint down to the base. Water may enter through a damaged seal or travel along a cable into a compartment even when the housing itself looks sound.
- Gaskets and covers: Look for continuous seating, cuts, twisting, compression set, and gaps around corners. Check that the cover closes evenly and that fasteners follow the manufacturer’s tightening instructions.
- Cable entries: Verify gland size against the actual cable diameter. Unused entries should be closed with suitable rated plugs, not improvised filler.
- Solar panel interface: Examine the frame, bonding, and cable exit for cracks, lifted sealant, or routes that could direct water toward electronics.
- Battery and control compartments: Check for moisture marks, corrosion on terminals, loose covers, and signs of water tracking. Do not open a wet or energized enclosure until it has been made safe.
- Drainage: Where the design includes drain or vent openings, confirm they are unobstructed and positioned as specified. Do not seal them simply because they appear to be holes.
Standing water against the bollard base can defeat an otherwise suitable installation. Check finished ground levels, surface runoff, and whether soil, mulch, or paving will cover designed drainage paths. A sealed electronics compartment and a drained structural base can coexist; their intended water-management functions should be clear in the product documentation.
Condensation is not always a leaking gasket
Temperature changes can draw moist air into an enclosure and cause it to condense on cooler surfaces. A small amount of temporary fogging does not, by itself, identify the entry path. Persistent droplets, pooled water, staining, or corrosion on electrical parts warrant closer investigation.
Record where moisture appears and whether it follows rain, washing, or a temperature change. Inspect seals and cable entries first, then check any specified pressure-equalizing vent for contamination or damage. Drying the interior without identifying the cause may only postpone recurrence. Avoid drilling additional holes or adding sealant over a vent: either action can change the enclosure’s intended protection.
Assess corrosion at joints, not just on the finish
Coastal salt, de-icing chemicals, fertilizer, and continuously damp soil can accelerate corrosion. Review the housing, coating, fasteners, mounting plate, and anchors as a system. A clean painted surface does not rule out attack under a bracket or around a screw head.
Request material and coating specifications appropriate to the exposure. Check edges, cut-outs, welds, and drilled holes for incomplete coverage or damage. Where dissimilar metals meet, ask how galvanic corrosion is controlled, especially if the joint can remain wet. Isolation washers or compatible materials may be specified, but their suitability depends on the design and environment.
Salt-spray testing, such as testing under ISO 9227, can provide comparative information about a defined specimen and coating system. It does not directly predict years of outdoor service. Review the test method, duration, specimen preparation, and acceptance criteria rather than relying on a stated number of hours alone. Also verify that the tested coating and substrate match the supplied parts.
Set inspection points before acceptance
- Review the submittal: Match model numbers, IP evidence, materials, coating details, installation instructions, and maintenance requirements to the proposed configuration.
- Inspect a representative unit: Check seals, lens fit, fasteners, cable glands, panel edges, and coating condition before installation. Record any damage that could affect protection.
- Check the installation: Confirm orientation, cable routing, base drainage, anchor protection, and the surrounding ground level. Photograph concealed interfaces before they are covered where project procedures require it.
- Reinspect after exposure: Look for water retention, persistent internal moisture, coating defects, and corrosion at fasteners and the base. Compare observations with the project’s agreed acceptance criteria.
Do not substitute an improvised hose test for a documented IP test. Field water checks can help locate a suspected leak when performed safely and under an agreed procedure, but hose pressure, direction, and duration may differ substantially from standardized conditions. Isolate the equipment as required before opening it, and follow the manufacturer’s instructions for battery handling and reconnection.
Keep product ratings tied to their application
A project may use different outdoor luminaires alongside bollards, but one fixture’s protection rating cannot validate another’s. For example, the LED Floodlight TGD-031 is specified with IP66 protection for applications such as plazas and landscapes. It is a separate floodlight, not evidence that a solar bollard has the same rating or corrosion performance. Verify documentation and installation requirements for each product used on the site.
◉ MESSAGE

Blog
- Urban Lighting Solutions: Comparing Grid and Solar-Powered Systems
- Lawn Streetlight EPC Contractors: Assessing Installation Capability
- Dusk-to-Dawn Urban LED Lighting: Photocells vs Astronomical Timers
- Waterfront Pedestrian LED Lighting: Addressing Glare and Salt Air
- LED Street Light Manufacturers: Evaluating Warranty and Support
- Connected Smart Poles: How Connectivity Enables Remote Monitoring
- Solar Highway Lighting: Managing Battery Failures on Remote Roads
Message