
How to Fix Blurry Images and Uneven Output in an LED Pattern Projector
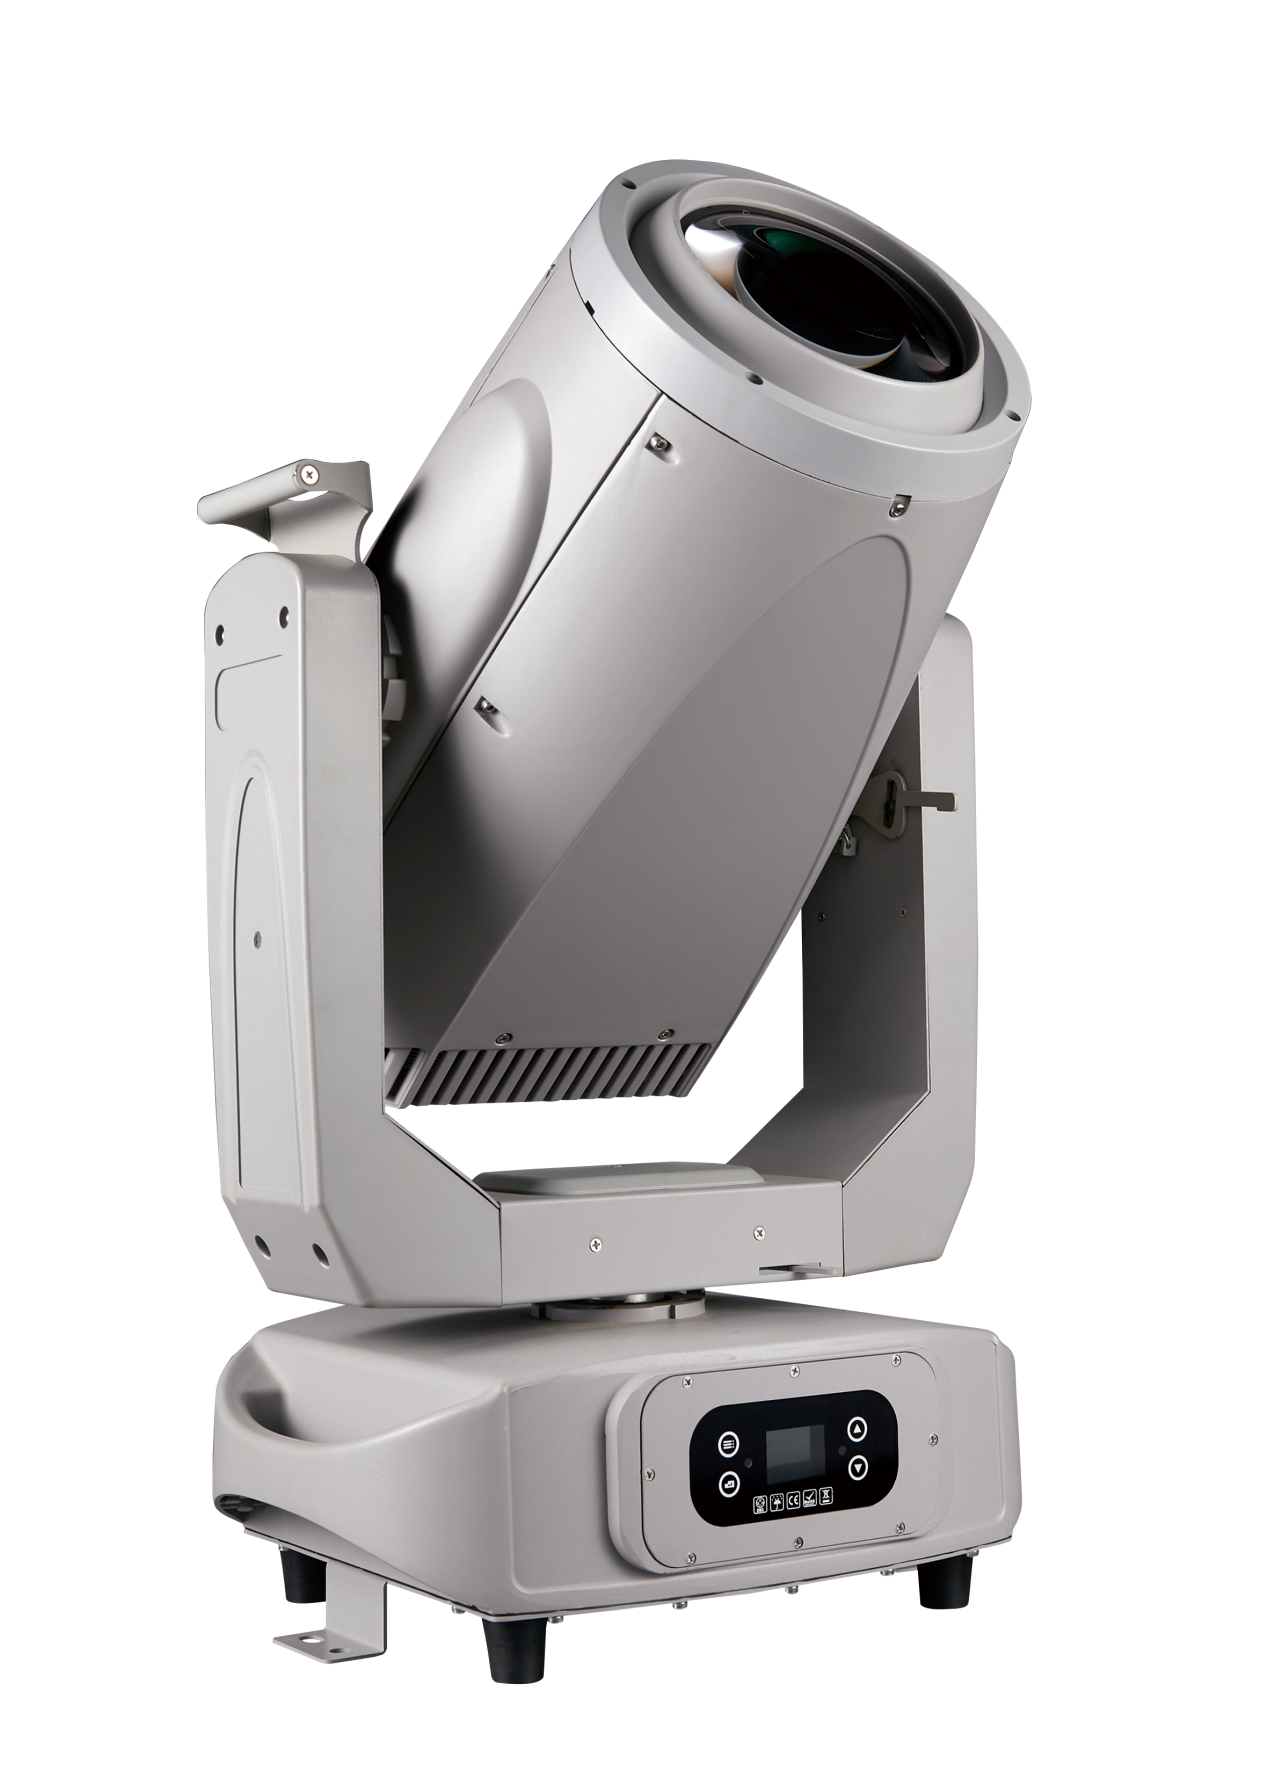
Where Blurry Projection Usually Starts
Blurry edges and patchy brightness rarely come from one single defect. On outdoor jobs, an LED pattern projector may look acceptable during a quick bench test, then lose definition after installation because the real site introduces distance variation, vibration, ambient light, surface texture, and moisture. That is why image quality has to be judged in the field, not only from the fixture specification.
The first thing to check is whether the projector is being asked to do more than its optical setup allows. A pattern that is crisp at 3 or 4 meters can become soft at 8 meters if the lens is not matched to that throw distance. This is especially common in building facades, park entries, and pedestrian plazas where the installer shifts mounting height late in the project to avoid trees, signage, or drainage structures. Once the angle changes, focus changes with it.
Another frequent mistake is judging the projector without judging the surface. Rough stone, textured paint, uneven concrete, and corrugated cladding all break up the projected image. On paper, the equipment may still be working correctly. In practice, the projected logo, symbol, or directional graphic looks weak because the receiving surface is scattering light unevenly. For outdoor lighting contractors, this distinction matters. Replacing the fixture will not solve a wall problem.
Focus Problems Are Often Installation Problems
When a projected image is blurry across the whole pattern, focus is the obvious suspect. When one side is sharp and the other is not, the cause is often alignment. The projector may not be sitting square to the target plane, or the mounting bracket may be slightly twisted. On poles, parapets, and decorative structures, even a small tilt can create uneven focal distance from one side of the image to the other.
This becomes more visible outdoors because the projector is rarely mounted in a perfectly controlled indoor geometry. A fixture fixed to an existing pole can inherit pole lean. A unit installed near a road may also be affected by continuous vibration from traffic. Over time, that can loosen the angle setting enough to reduce sharpness, especially on narrow graphics with text or hard borders.
A practical site check is simple: confirm the actual projection distance, confirm the target surface is reasonably flat, then re-aim the fixture so the optical axis meets the surface as directly as the design allows. If the pattern improves immediately when the unit is repositioned, the problem was not lamp output or LED quality. It was geometry.
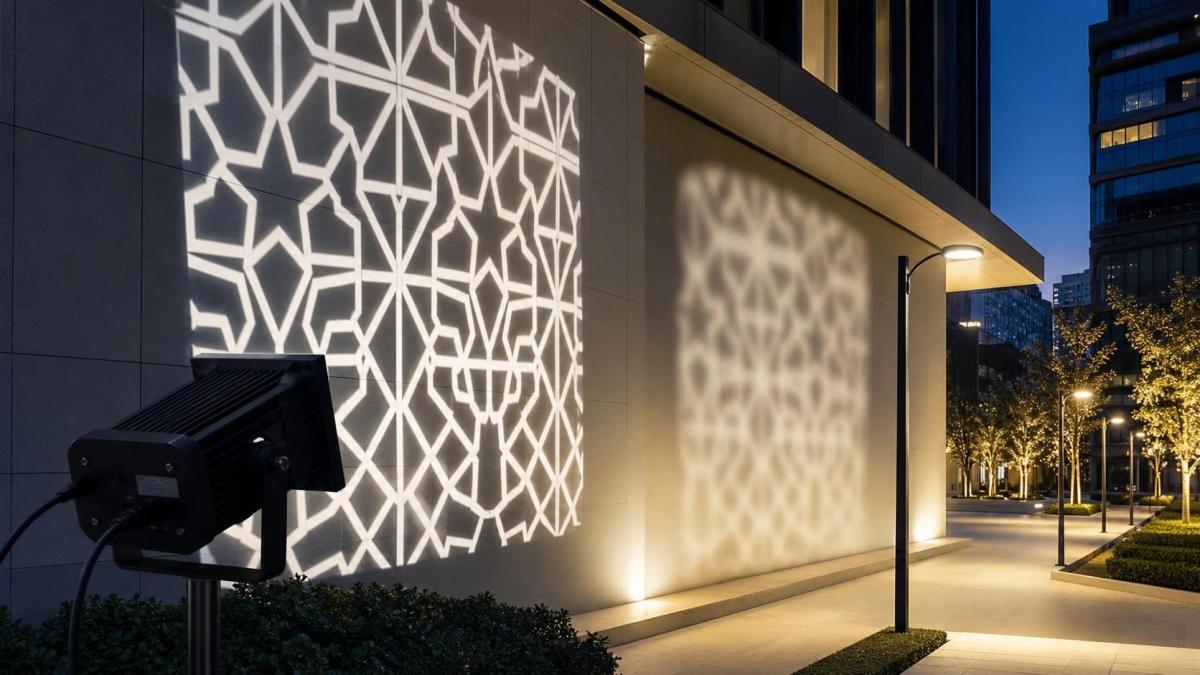
Why Output Looks Uneven Even When the Image Is in Focus
Uneven output is a different issue. A projector can produce a sharp image and still look poor because the center is too hot, the edges fall off too quickly, or the projected area competes with surrounding light. In open public spaces, this is often misread as a projector fault when the real cause is contrast loss. If nearby street lighting, façade lighting, or commercial signage is too strong, the pattern appears washed out on one side or disappears at the edges.
This is where broader lighting coordination matters. In urban projects, projection fixtures do not operate alone. General illumination levels, pole spacing, and beam distribution from nearby luminaires can either support or interfere with projected graphics. On roads, highways, and smart city installations, teams already dealing with visual hierarchy and light uniformity often use surrounding fixtures to control the background brightness rather than trying to solve everything at the projector itself. In those environments, a product such as LED Street Light Luminaire may be part of the wider lighting layout, particularly where stable roadway illumination and controlled ambient conditions help the projected content remain legible rather than visually drowned out.
That coordination is not theoretical. If adjacent road lighting uses a very wide beam and throws light onto the projection wall, the pattern loses definition even when the projector is functioning correctly. If the surrounding luminaires are dimmable and the site uses smart control, there is more flexibility to tune the scene at certain hours. Lishida Smart Lighting works with contractors and project owners on this kind of integrated outdoor lighting problem because the issue usually sits between products, controls, and site execution rather than inside one fixture alone.
Weather, Dirt, and Housing Quality Change the Result Over Time
Some installations look fine at commissioning and degrade within months. In outdoor use, dirt on the lens, moisture intrusion, and thermal stress can all reduce clarity and brightness uniformity. A thin film of dust or airborne residue is enough to soften edges. In coastal zones, roadside environments, or landscaped public areas, that buildup happens faster than many clients expect.
Housing quality also matters more outdoors than in showroom demonstrations. If sealing is weak, internal condensation can scatter light and make the image appear milky. If heat management is unstable, optical components can drift slightly, and that may show up first as inconsistent output rather than complete failure. This is one reason experienced project teams tend to ask about the maintenance interval and enclosure protection early, not after image quality drops.
For mixed urban environments, durable site lighting and projection equipment need to be considered together. Fixtures used in the same zone are exposed to the same dust, rain, and voltage conditions. Products specified for long outdoor service, such as roadway luminaires with IP66 protection, AC176-264V input, and dimming options like PWM, PLC, or 0-10V, reflect the kind of reliability thinking that also benefits projection planning. It does not mean every projector should be chosen like a streetlight, but it does mean the project team should not ignore environmental durability just because the visual problem first appears as blur.
The Questions Worth Asking Before Replacing the Fixture
Before swapping out an LED pattern projector, it helps to isolate the source of the problem with a few site-based questions:
- Has the mounting height or projection distance changed from the original plan?
- Is the target surface flat, clean, and light enough in color to hold contrast?
- Does the projector face the surface squarely, or is the image stretched by angle?
- Are nearby luminaires, shop signs, or vehicle headlights reducing visible contrast?
- Has dust, moisture, or lens contamination appeared since commissioning?
These checks are basic, but they prevent a common misjudgment: treating every poor image as a product defect. In many outdoor applications, the fixture is only one part of the result. The pattern quality depends on optics, installation discipline, environmental exposure, and the surrounding lighting scene.
A Better Way to Judge Suitability on Outdoor Projects
If the application is branding on an entrance wall, crisp edges matter most. If it is wayfinding in a public plaza, legibility under changing ambient light matters more than perfect graphic detail. If the site is next to a roadway, maintenance access and long-term stability may be more important than getting the smallest possible projector body. The right decision comes from ranking those priorities honestly before installation.
For large-scale outdoor projects, the best results usually come when projection is reviewed as part of the wider lighting scheme. That includes checking background illumination, power conditions, control strategy, mounting constraints, and maintenance access at the same time. Contractors who do this early tend to avoid the familiar cycle of refocusing, relocating, and blaming the fixture after handover.
If an LED pattern projector is producing blurry images or uneven output, the useful next step is not guessing. Measure the throw distance, inspect the target surface, review the surrounding light, and check whether the installation geometry still matches the original intent. That process usually reveals whether the problem belongs to the optics, the environment, or the broader outdoor lighting layout.
◉ MESSAGE
Blog
- How to Qualify a Wind-Solar Hybrid Street Light Supplier for Remote Sites
- Solar Security Light Placement Strategies to Eliminate Outdoor Blind Spots
- LED Street Luminaire Specifications That Matter for Roadway Projects
- What to Evaluate When Selecting a Smart Street Lamp Manufacturer
- How to Prepare a Compliant Solar Lighting Bid for Public Infrastructure Projects
- LED Street Lighting Solutions for Urban and Municipal Roads
- LED Street Light Installation Guide for Road Projects
Message