
Solar Bollard Lights for Residential Areas: Placement and Glare
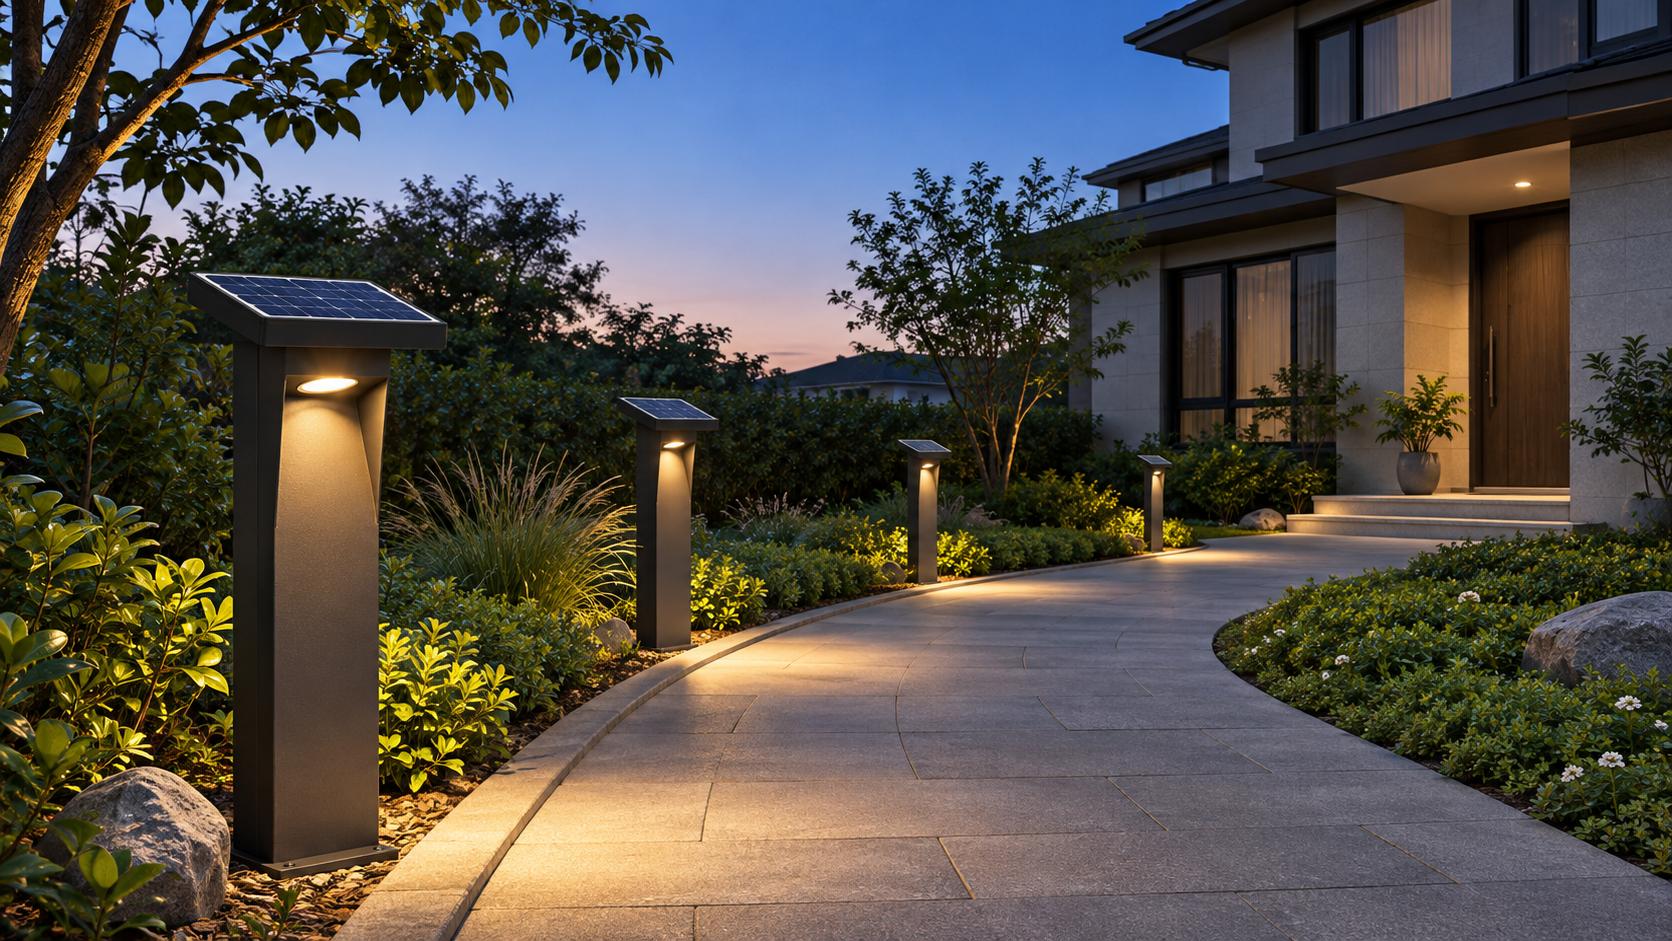
A solar powered bollard light for residential areas is most useful where it can guide pedestrians along a clearly defined route without shining directly into homes or into the eyes of people using the path. Good placement starts with that balance. A fixture that looks bright on a plan can still leave an entrance poorly illuminated, while a row of visually prominent bollards can make a quiet residential path uncomfortable after dark.
Solar bollards are a practical option when the proposed locations receive enough usable daylight and the required nighttime lighting can be supported by the fixture’s battery and controls. Shaded courtyards, covered walkways and locations beneath dense trees deserve closer scrutiny. Where those conditions cannot support reliable operation, a wired solution or a different fixture position may be more appropriate.
Place Light Where Residents Make Decisions
Start with the route residents actually use, not a uniform row drawn along a landscape border. Trace the path from building entrances to parking areas, shared facilities and street connections. Pay particular attention to changes in direction, steps, ramps, crossings and transitions between a lit entrance and a darker path. These are the places where people need to read the ground and understand where to go next.
Bollards are generally better suited to illuminating nearby surfaces and marking a route than lighting a large area from a distance. At a building entrance, they may complement an entrance luminaire, but their low mounting height can limit how effectively they illuminate faces, door hardware and signage. Treat the entrance and the approach as connected lighting tasks rather than assuming one fixture type will cover both.
Position each bollard with pedestrian movement and maintenance in mind. Keep it clear of accessible routes, door swings, drainage paths and locations where vehicle doors or turning vehicles could strike it. A fixture set too close to the edge of a narrow path may also become an obstacle, particularly when landscaping grows around it or snow clearance reduces the usable width.
At crossings and shared vehicle areas, check whether bollards alone provide sufficient visibility for the relevant task. A low-level fixture can help define a pedestrian route, but it should not be assumed to provide the broader visibility needed where drivers, cyclists and pedestrians interact. The project’s lighting designer should assess these transition areas against the applicable local requirements and design criteria.
Set Spacing From the Light Pattern, Not Appearance Alone
Evenly spaced bollards can look orderly in a daytime rendering, but equal spacing does not guarantee useful nighttime coverage. The result depends on the fixture’s optical distribution, mounting height, lumen output, surrounding surfaces and the width of the path. Dark paving, planting beds and level changes can all alter how the route is perceived.
Use the manufacturer’s photometric data to develop the initial layout, then review the calculated light levels and uniformity against the project’s requirements. Look beyond the brightest points immediately beside each fixture. Long dark intervals between bright pools can make a route harder to read and tempt the team to compensate with a higher-output product, potentially increasing glare.
Spacing may need to tighten at bends, steps or entrances and open up along a simple straight path. Conversely, adding a bollard at every feature can create visual clutter and increase the number of batteries and components that must eventually be maintained. The aim is a legible route with enough light where it is needed.
Where budget and schedule permit, install a representative sample before finalizing the full layout. View it after dark from both directions of travel and from nearby homes. A sample is especially useful when the surface finish, planting or sightlines differ from the assumptions used in the design calculation.
Control Glare From the Resident’s Viewpoint
Glare is not determined by output alone. A low-mounted light source can sit directly in a pedestrian’s line of sight, and a fixture visible from a ground-floor bedroom or living room may be intrusive even when it provides useful light on the path. Review the installation from seated as well as standing positions, including windows, patios and benches near the route.
Look for optics that direct light toward the walking surface while limiting direct views of the bright source. Shielded or recessed light sources can help, but the shape of the housing alone does not prove that a bollard will be comfortable. Request photometric information and examine the actual product under operating conditions. A decorative translucent top, for example, may be visible from many directions and may not provide the same control as a directional optic.
Orientation matters too. An asymmetric distribution can put more light onto a path and less toward a residence, provided the fixture is installed facing the intended direction. Mark orientation on the installation drawings and check it during commissioning; a correctly specified optic can produce the wrong result if the bollard is rotated on site.
Check reflected brightness as well as direct light. Light-colored paving or wet surfaces can make a bright patch more noticeable, particularly near a window. In some locations, moving a fixture or changing its distribution may do more for comfort than simply reducing its output.
Check Solar Exposure Before Fixing the Layout
The best lighting position and the best solar position are not always the same. A bollard beside a shaded entrance may be exactly where guidance is needed, yet receive too little sunlight to support the intended operating schedule. Assess exposure at the proposed panel location, including shadows from buildings, fences and mature vegetation. Consider seasonal changes in sun angle and foliage, rather than relying only on a clear day during the site visit.
Ask the supplier to explain the expected operating profile for the specific configuration: output level, hours of operation, dimming schedule, battery capacity and the assumptions used for available solar energy. A claim that a fixture operates throughout the night is less useful without knowing the conditions and output level behind it. Extended cloudy periods, battery aging and reduced solar exposure can all affect performance.
Motion-responsive dimming can reduce energy demand, but it should be evaluated for the route and its residents. Check whether the detection area picks up approaching pedestrians early enough and whether the lower standby level still provides an acceptable sense of direction. Avoid a layout in which lights repeatedly switch between extremes near bedroom windows or leave a person stepping into darkness before the next sensor responds.
Where integrated panels cannot receive adequate light, investigate whether a suitable remote-panel arrangement or a wired connection is feasible. That decision can change the civil works, cable routes and maintenance responsibilities, so it should be made before the bollard positions are frozen.
Coordinate Bollards With Adjacent Lighting
Residential routes rarely exist in isolation. Entrance lights, landscape accents and facade lighting can change both the perceived brightness of a path and the view from nearby homes. Review them together after dark, including any dimming or switching schedules. A path that appears adequately lit when the facade lights are on may feel very different after those lights switch off.
For a facade or landscape feature beside the route, a separate linear fixture may be appropriate where a continuous line of light is part of the design. The LED Linear Light XTD-015 is an AC-powered fixture intended for building facades and landscapes, so it should be assessed as a separate wired lighting element, not as a solar bollard or a substitute for path lighting. Its aiming and output still need to be coordinated with windows and pedestrian sightlines.
Before handover, verify the installed positions, fixture orientation, operating schedule and performance of the route as a whole. Include the people responsible for ongoing landscape maintenance: vegetation that eventually shades a panel or blocks a light distribution can undo a sound layout. The best final check is a walk through the site after dark, looking toward entrances, along the path and back toward the homes that face it.
◉ MESSAGE

Blog
- Urban Lighting Solutions: Comparing Grid and Solar-Powered Systems
- Lawn Streetlight EPC Contractors: Assessing Installation Capability
- Dusk-to-Dawn Urban LED Lighting: Photocells vs Astronomical Timers
- Waterfront Pedestrian LED Lighting: Addressing Glare and Salt Air
- LED Street Light Manufacturers: Evaluating Warranty and Support
- Connected Smart Poles: How Connectivity Enables Remote Monitoring
- Solar Highway Lighting: Managing Battery Failures on Remote Roads
Message