
Planning a Smart Pole Project: From Site Survey to Commissioning
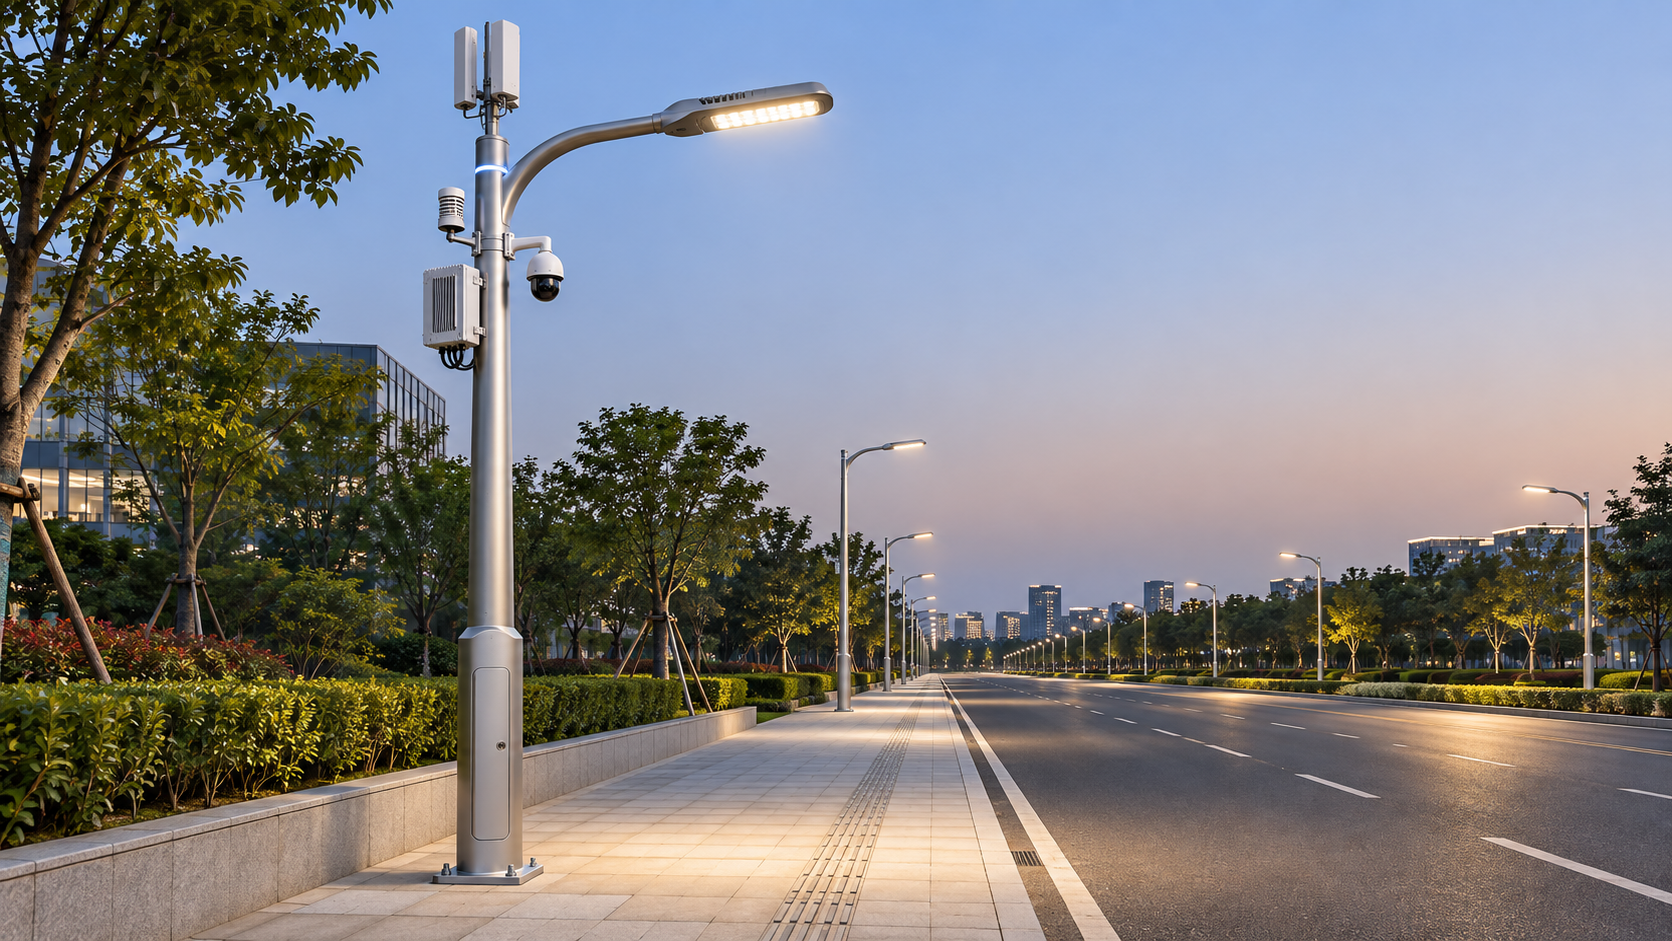
A successful smart pole project depends on more than selecting the right lighting equipment. Project managers must coordinate site surveys, power and connectivity requirements, product selection, installation, and system integration while keeping schedules and long-term reliability in view. This guide walks through the stages from initial assessment to commissioning, helping project teams identify risks early, align stakeholders, and deliver outdoor lighting infrastructure that performs as intended.
Start with the services the pole must support
A smart pole can serve as a platform for street lighting, controls, communications equipment, cameras, sensors, or other devices. Not every site needs every function. Before asking suppliers for a configuration, establish what the project is expected to accomplish and which functions are required at opening versus planned for a later phase.
For a road project, the immediate priority may be consistent illumination and remote dimming. In a public square, the owner may also need space and power for environmental sensors or communications equipment. These choices affect pole loading, cabinet space, cabling, network capacity, and access for maintenance.
Record the decisions in a scope document that identifies the owner of each system, the intended operating hours, the control requirements, and the acceptance criteria. Where future devices are anticipated but not yet specified, agree on realistic provisions for spare capacity rather than assuming that any pole can accommodate them later.
Use the site survey to expose delivery risks
A drawing may show where a pole should go, but the site determines whether it can be installed there. Survey proposed locations with civil, electrical, lighting, and communications requirements in mind. For multi-site projects, use a consistent survey form so that exceptions can be compared before procurement begins.
- Physical conditions: Check available space, ground levels, drainage, access for lifting equipment, and proximity to trees, signs, buildings, and traffic.
- Underground constraints: Review utility records and confirm the investigation method with the relevant authorities before excavation. Existing services can affect foundation positions and cable routes.
- Power availability: Identify the proposed supply point, voltage, capacity, metering arrangements, and any need for new distribution work.
- Connectivity: Assess the proposed network route or wireless coverage at the actual installation area. A coverage map alone may not reflect local obstructions or operating conditions.
- Approvals and access: Identify permits, road closures, property permissions, and restrictions on working hours that could influence the schedule.
Photographs, marked-up drawings, and a record of unresolved questions are as valuable as measurements. If a proposed location conflicts with an underground service or cannot be safely maintained, resolve the issue before foundations and poles are ordered.
Turn survey findings into a coordinated design
The next challenge is bringing separate disciplines into one workable package. The lighting designer, structural engineer, electrical contractor, network provider, and equipment suppliers may each have a sound plan, yet their assumptions can still conflict.
Develop a pole schedule that connects each location to its mounting height, outreach, luminaire, devices, electrical load, communications method, and foundation design. Include allowances for cable entry, internal space, grounding, surge protection, and safe maintenance access. Structural design should account for the complete installed arrangement, including attached devices and local wind conditions, and be checked against applicable requirements by a qualified engineer.
Keep interfaces visible. For example, a camera supplier may specify a power supply that does not match the pole’s available distribution, while a lighting controller may require a control protocol the selected luminaire does not support. An interface register naming the responsible party and verification method can prevent these issues from becoming site delays.
Choose lighting equipment for the road, not just the datasheet
Lighting selection should start with the required performance for the road or public space, including the applicable local lighting criteria. Compare mounting height, spacing, road width, surroundings, and preferred light distribution through a lighting design calculation. A higher wattage is not automatically the right answer if the optical distribution does not suit the site.
For projects evaluating road and smart-city luminaires, Lishida’s LED Street Light Luminaire, model LD044, is offered in a 50–350 W range, with multiple beam-angle options and IP66 protection. Its listed dimming options include PWM, PLC, and 0–10 V; confirm the selected configuration and its compatibility with the project’s controller before purchase. The stated efficacy is 150 lm/W, while actual lighting performance should be assessed for the specified configuration and site layout.
Plan power, controls, and connectivity as one system
Smart functions depend on more than a pole receiving electricity. Prepare a load schedule covering the luminaire, controllers, communications equipment, and any other connected devices. Confirm which equipment needs continuous power and whether lighting circuits are switched or controlled centrally. A sensor expected to operate around the clock will not perform as intended if its supply is disconnected whenever the lights are off.
For controls, define the intended behavior before discussing platform features: dimming schedules, fault reporting, manual override, response to communication loss, and who can change settings. Check compatibility between the luminaire driver, control node, gateway, and management platform, including the control interface and any required configuration tools.
Connectivity should be tested early enough to influence the design. Agree on who supplies and maintains the network, how devices will be identified, and what information the owner needs for operation. Cybersecurity responsibilities, access permissions, and software support arrangements should also be established with the relevant system owners.
Protect the schedule during installation
Break the work into dependencies rather than treating pole installation as a single activity. Foundations, supply connections, communications availability, pole erection, luminaire mounting, and device configuration may be handled by different teams. A delay in one package can leave completed work waiting for another.
Before full deployment, consider installing a representative pole or small trial section where the project permits. Use it to check mounting arrangements, cable routing, controller setup, network connection, and maintenance access. Document the result and resolve design changes before repeating the installation across the site.
During construction, keep a live record of deviations from approved drawings. A relocated pole or changed cable route may be necessary, but it should be reviewed for lighting, structural, electrical, and network impacts—not simply noted after the work is complete.
Commission against agreed acceptance criteria
Commissioning is the point at which individual components must prove they work together. Prepare the test plan before installation finishes, identify witnesses where required, and distinguish between a completed installation and an accepted system.
- Inspect the installation: Verify pole identification, equipment mounting, cable terminations, labeling, and visible condition against approved documentation.
- Complete electrical checks: Have qualified personnel carry out the inspections and tests required by applicable regulations and the project specification, including protective measures and grounding.
- Test lighting operation: Check switching, dimming, programmed schedules, and any required on-site lighting measurements against the agreed design and acceptance method.
- Verify connected functions: Confirm device registration, communications, alarms, remote commands, and the agreed response to loss and restoration of connectivity.
- Close outstanding issues: Assign each defect or incomplete item an owner and target resolution date, then retest affected functions before sign-off.
Handover should give the operations team more than a pass certificate. Provide updated as-built drawings, equipment and configuration records, test results, operating instructions, warranty information, and supplier contacts. Agree who will monitor faults, manage user access, and arrange replacement parts after acceptance.
Keep long-term ownership in the project brief
The decisions that make installation convenient are not always the ones that make maintenance straightforward. Ask how a technician will access the driver or control node, replace a device, and identify a failed component without unnecessary disruption. Confirm whether key parts and system documentation will remain available through the intended support period.
Lishida Smart Lighting supports contractors and project owners with outdoor lighting products, smart control systems, and project-based solutions. For teams managing a smart pole project, that support can be useful when coordinating equipment selection with the practical demands of installation and system integration. Clear responsibilities, early interface checks, and a commissioning plan remain essential to a dependable handover.
◉ MESSAGE

Blog
- Public Sector Lighting Procurement: Comparing Lifetime Costs
- Planning a Smart Pole Project: From Site Survey to Commissioning
- LED Bridge Lighting Design: Balancing Visibility and Glare
- Energy-Saving Modes for LED Urban Furniture Lighting Explained
- How to avoid vendor lock-in in a government smart lighting project
- Sizing the communications power budget for smart city solar street lights
- How energy-saving mode affects solar bollard light operating time
Message