
LED Bridge Lighting Design: Balancing Visibility and Glare
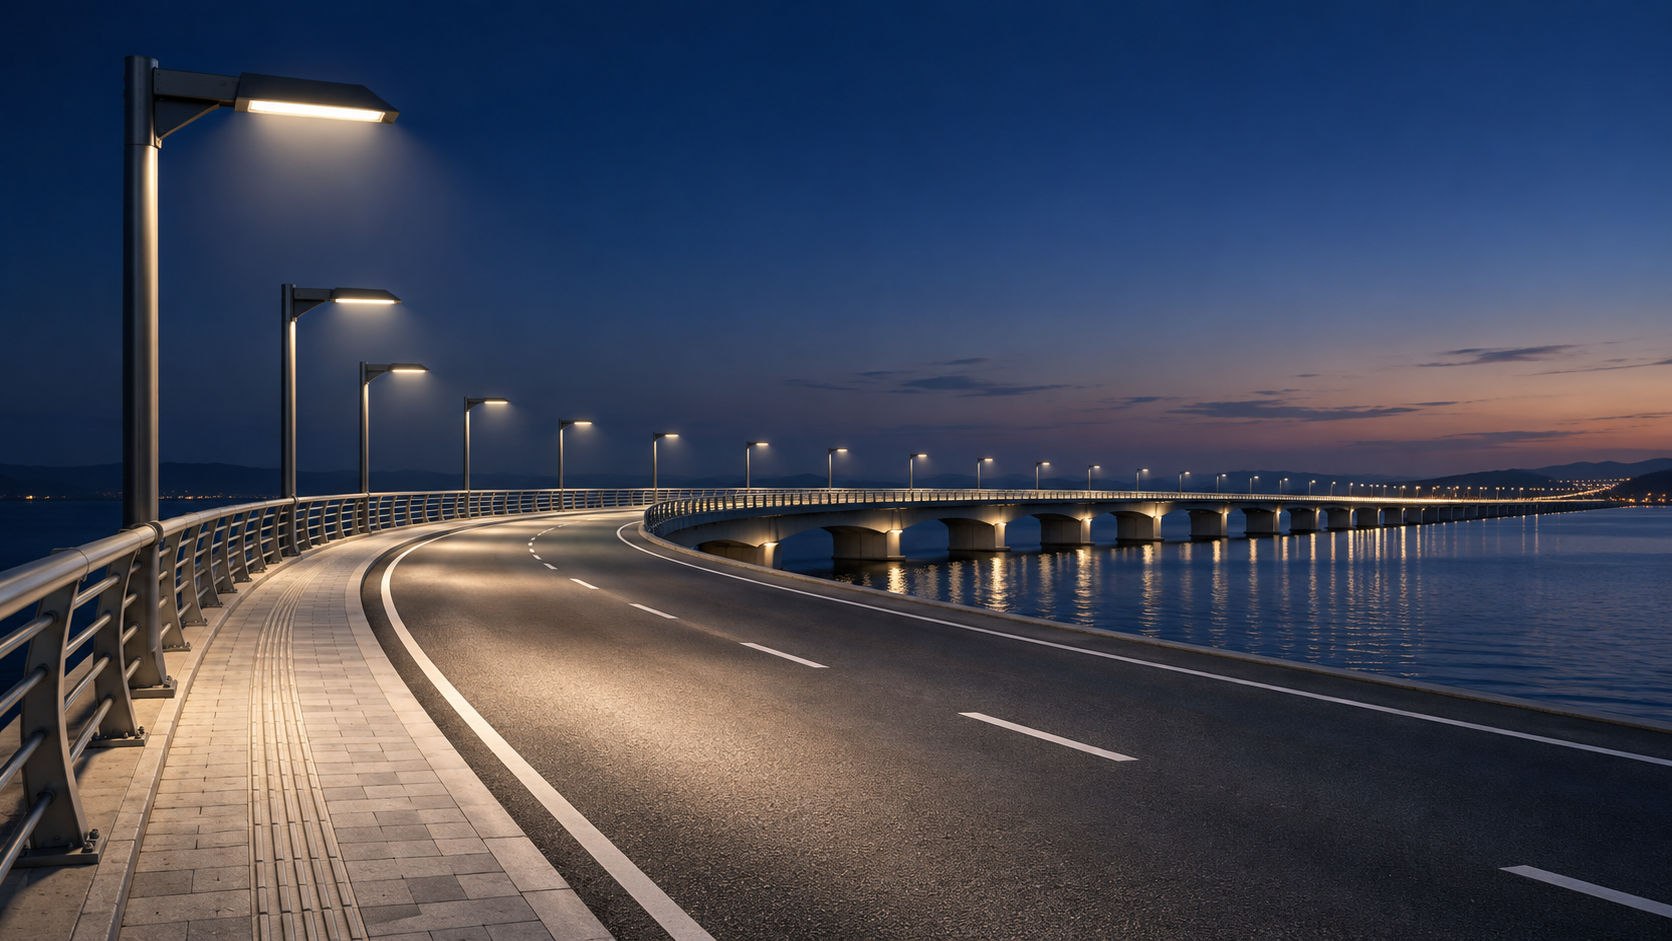
LED bridge lighting design requires more than sufficient illumination. A driver approaching a curved deck must be able to see the road without being distracted by bright sources, while pedestrians need to recognize changes in level, railings, and other people. Nearby residents may have an entirely different concern: light spilling beyond the bridge. For technical evaluators, the task is to assess visibility, glare, optical control, structural constraints, and long-term reliability as parts of one system.
Start with the view from the bridge, not the fixture catalog
A bridge can contain several distinct visual environments within a short distance. Traffic lanes, sidewalks, cycle paths, intersections, and approach roads may each require different lighting treatment. A layout that performs well on a straight roadway can become uncomfortable where the deck rises, curves, or transitions from a dark approach.
Begin by defining who uses each area and what they need to see. For drivers, the assessment may center on road surface luminance, uniformity, and obstacles. For pedestrians and cyclists, horizontal and vertical illuminance can be relevant to seeing the path, faces, signs, and potential conflicts. Select design criteria using the applicable local road-lighting standard and the project’s traffic classification rather than adopting a single target for the whole structure.
Pay particular attention to transitions. A brightly illuminated deck connected to a much darker approach can create an abrupt adaptation change. Model enough of the approach roads to understand the experience before and after crossing, not just the area between the abutments.
Balancing visibility and glare in LED bridge lighting
More output does not automatically mean better visibility. A luminaire can deliver adequate illuminance on a calculation grid while placing a bright source directly in a driver’s or pedestrian’s field of view. The result may be discomfort or reduced ability to detect detail, especially against a dark background.
Evaluate glare alongside the lighting levels required by the selected standard. Depending on the jurisdiction and application, the assessment may include a disability-glare metric such as threshold increment, as well as limits on luminaire intensity or other relevant criteria. Pedestrian discomfort and views from adjacent properties may also require separate consideration; a road calculation alone will not describe every observer’s experience.
Several design decisions affect the balance:
- Mounting height and spacing: Higher mounting can improve distribution and reduce the number of poles, but it also changes visibility from surrounding areas and increases structural and maintenance demands. Lower mounting may fit the architecture, yet requires careful control of source brightness.
- Optical distribution: Choose a distribution suited to the width and geometry of the deck. Forward throw, backlight, and high-angle output matter as much as nominal lumen output.
- Tilt and orientation: Aim luminaires as intended by the optical design. Excessive tilt can send light above the useful area and make the source more visible to approaching traffic.
- Shielding: Shields or house-side controls can reduce unwanted spill, but they may also alter uniformity. Recalculate the layout with the actual accessory fitted.
- Surface conditions: Pavement reflectance influences luminance results. Wet conditions can change reflections and create bright patches, so consider them where required by the project brief or relevant guidance.
Color temperature also deserves a project-specific decision. Warmer light may be preferred near sensitive surroundings, while a different appearance may suit an urban corridor. Color temperature alone does not establish glare performance; source luminance, optics, mounting, and viewing angle remain essential.
Use calculations to test the layout, then verify what was installed
A useful lighting model is more than a pass-or-fail report. Build it around the actual bridge geometry, including lane widths, barriers, pole locations, slopes, curves, and approach sections. Use photometric files for the proposed luminaire configuration, including optics, output setting, and any shields. Where road luminance is specified, use the appropriate calculation method, observer positions, and road surface assumptions required by the governing standard.
Review average and minimum values together with overall and longitudinal uniformity where applicable. Averages can conceal a dark band near a barrier or a bright patch beneath each pole. Check the pedestrian route separately if roadway poles also serve the footway; a barrier, handrail, or pole position can interrupt the distribution.
Document the maintenance factor and its assumptions, including expected lumen depreciation and dirt accumulation. Bridge exposure varies: a sheltered urban span and a salt-laden coastal crossing may need different cleaning plans. The design should make those assumptions visible so the owner can judge whether they are realistic.
After installation, compare the as-built pole positions, mounting heights, aiming, and control settings with the model. Commissioning measurements should follow the applicable standard and use suitable instruments and measurement conditions. If results differ, investigate aiming, output programming, obstructions, and the calculation inputs before simply increasing power.
Bridge constraints can change the preferred lighting solution
Lighting equipment becomes part of a structure exposed to vibration, wind, water, and frequent temperature changes. Early coordination with the bridge engineer can prevent a photometrically attractive layout from becoming difficult to build or maintain.
Review pole and bracket loads, fixing details, fatigue considerations, cable routes, access points, and restrictions on drilling or adding weight. On coastal or de-iced crossings, assess corrosion protection for the complete assembly, including fasteners and connections—not only the luminaire housing. Specify ingress protection and surge protection appropriate to the site and electrical design, and confirm how damaged components can be isolated and replaced.
Maintenance access is equally consequential. A fixture that requires a lane closure or specialized bridge-access equipment may cost little to purchase but be disruptive to service. Ask suppliers which parts can be replaced, whether drivers and control components remain accessible, and how the installation will be inspected safely over its service life.
Controls and off-grid power: useful options with conditions
Smart controls can support scheduled dimming, fault reporting, and energy monitoring. Their value depends on the operating brief: dimming levels must remain compatible with required lighting performance, traffic conditions, and local rules. Define the intended behavior during communication loss, power restoration, and maintenance, and check compatibility between luminaires, drivers, controllers, and the owner’s management system.
For remote bridge approaches or nearby roads where trenching is difficult, an independent power system may be worth assessing. The Wind-Solar Hybrid Street Lighting | SHL-007 combines a solar panel, wind turbine, lithium battery, and MPPT hybrid controller. Available configurations include LED power from 30 W to 150 W. It is relevant to off-grid locations, but its suitability for a bridge approach depends on the required lighting layout, usable wind and solar resources, battery autonomy, structural approval, and maintenance access. An energy-yield and load assessment is needed before relying on any hybrid system for continuous operation.
A practical review before approval
When comparing proposals, request the calculation files and assumptions, not only a summary sheet. Confirm that each option addresses the same traffic classification, maintenance factor, operating schedule, and mounting constraints. Then look beyond compliance: identify where glare could affect an approaching driver, where light might reach neighboring buildings or water, and what work will be needed to maintain the installation.
Lishida Smart Lighting supports contractors and project owners with outdoor lighting products, smart controls, and project-based solutions. For an evaluation team, that integrated perspective is most useful when product selection is coordinated with structural, electrical, control, and maintenance requirements from the beginning. A successful bridge scheme is not simply bright on opening night; it remains visible, comfortable, and manageable throughout its planned operation.
◉ MESSAGE

Blog
- LED Bridge Lighting Design: Balancing Visibility and Glare
- Energy-Saving Modes for LED Urban Furniture Lighting Explained
- How to avoid vendor lock-in in a government smart lighting project
- Sizing the communications power budget for smart city solar street lights
- How energy-saving mode affects solar bollard light operating time
- Comparing lead times from LED street light luminaire suppliers in Europe
- What spare parts support should a smart street light exporter offer?
Message